Featured in Fragmented and jetc.dev.
One of the best books I’ve bought in the last few years is the Game Engine Black Book: Doom by Fabien Sanglard. As someone who grew up on games but has never really thought about how they’re made, it’s been a fascinating book to dip in and out of, and there’s some great bits of innovation detailed inside. There’s an axiom about the greatest innovations spawning from constraints, and the original DOOM team had some pretty serious constraints around memory and processing power - things that we generally take for granted these days. Reading about how they solved problems in this environment is fascinating, and I highly recommend the book.

One of the things that’s mentioned is the fire effect from the original Playstation/PSX port. Fabien wrote in detail about it, and many people have tried to bring it to life in various programming languages. There’s a few Android examples out there, but I wanted to build a version anyway to challenge myself to do something I would never normally do. I spent a while tinkering with a custom View, and it worked but it wasn’t super satisfying. Then it occurred to me - why not see if it’s possible in Jetpack Compose?
The bare bones
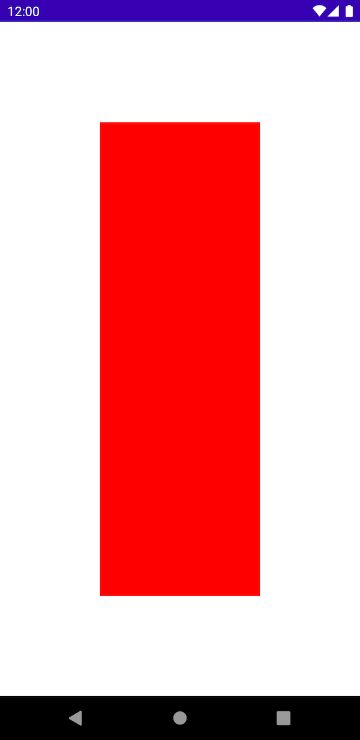
Initially I started at the absolute basics - how do I draw on the screen in Compose? Turns out there’s a Canvas composable function, so we’ll start here by using drawRect:
@Composable
fun DoomCompose() {
    Canvas(modifier = Modifier.fillMaxSize()) {
        val offset = 300f
        drawRect(
            rect = Rect(
                left = 0f + offset,
                top = 0f + offset,
                right = size.width.value - offset,
                bottom = size.height.value - offset
            ),
            paint = Paint().apply {
                style = PaintingStyle.fill
                color = Color.Red
            }
        )
    }
}
Adventures in looping
Easy enough. Next, I want to be able to update the state of the Canvas in an infinite loop - similar to how games tend to execute. For the sake of example, we’re just going to introduce some random variation into the bounds of the Rect. Historically, this sort of thing has been done in onDraw:
override fun onDraw(canvas: Canvas?) {
    super.onDraw(canvas)
    doSomeCalculation()
    canvas?.let { render(it) }
    postInvalidateDelayed(16)
}
Obviously this isn’t available in a Canvas composable function. Naively, I tried simply drawing within a loop, but this was a no-go:
@Composable
fun DoomCompose() {
    Canvas(modifier = Modifier.fillMaxSize()) {
        val handler = Handler()

        val propagate: Runnable = object : Runnable {
            override fun run() {
                try {
                    withSave {
                        drawRect()
                    }
                } finally {
                    handler.postDelayed(this, 16)
                }
            }
        }

        propagate.run()
    }
}

fun DrawScope.drawRect() {
    val offset = 300f + (Random.nextFloat() * 100)
    drawRect(
        rect = Rect(
            left = 0f + offset,
            top = 0f + offset,
            right = size.width.value - offset,
            bottom = size.height.value - offset
        ),
        paint = Paint().apply {
            style = PaintingStyle.fill
            color = Color.Red
        }
    )
}
This didn’t work at all. The loop does run, but the Rect is only rendered once. Handily, it turns out that there’s a Recompose composable, which exposes a recompose function to its children who can invoke it at any time to invalidate the View. Could this be what I was looking for?
@Composable
fun DoomCompose() {
    Recompose { recompose ->
        Canvas(modifier = Modifier.fillMaxSize()) {
            withSave {
                drawRect()
            }
        }

        val handler = Handler()

        val propagate: Runnable = object : Runnable {
            override fun run() {
                handler.postDelayed(this, 500)
                recompose()
            }
        }

        propagate.run()
    }
}
Again, this doesn’t work. drawRect is only called once whilst the Runnable behaves as you would expect. I’m assuming this is because Compose’s clever hash-based memoization doesn’t recognise any changes in the Canvas node, and therefore doesn’t bother drawing - even though the drawRect function is stochastic and isn’t the same every time. There might be a solution in here that I’m not seeing, but for now I think it’s time to ditch the Recompose function.
Modelling state
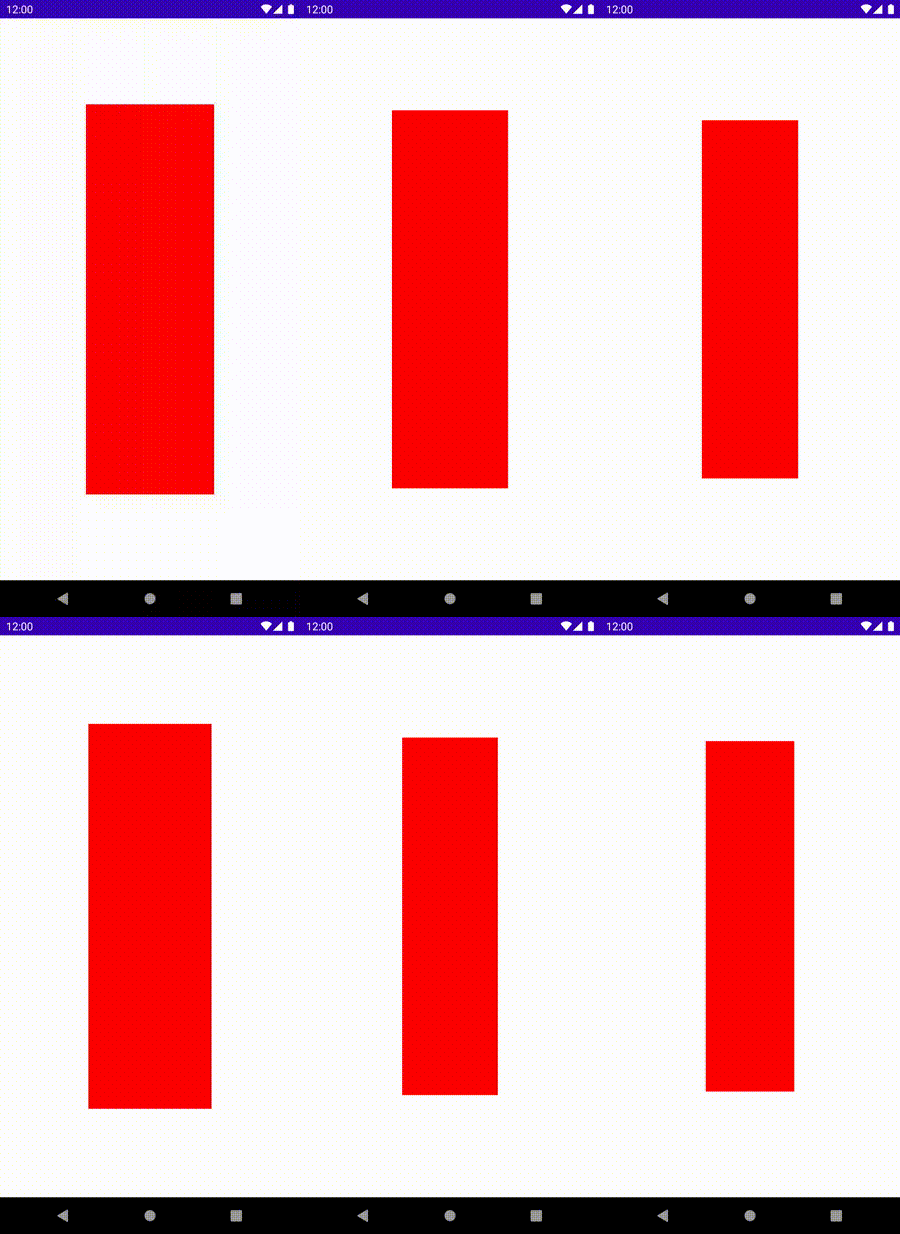
It seems obvious that the way to solve this is to pass some constantly changing state to the Composable which then forces it to re-render (exactly how Compose is intended to be used in the first place…). For this, we’ll require a @Model class:
@Model
data class DoomState(var offset: Float)

@Composable
fun DoomCompose(state: DoomState) {
    Canvas(modifier = Modifier.fillMaxSize()) {
        withSave {
            drawRect(state.offset)
        }
    }
}
And in the Activity itself, we add the logic for looping the drawing infinitely:
override fun onCreate(savedInstanceState: Bundle?) {
    super.onCreate(savedInstanceState)

    setContent {
        val state = DoomState(300f + (Random.nextFloat() * 100))

        DoomCompose(state)

        val handler = Handler()

        val propagate: Runnable = object : Runnable {
            override fun run() {
                handler.postDelayed(this, 500)
                state.offset = 300f + (Random.nextFloat() * 100)
            }
        }

        propagate.run()
    }
}
Great. With some of the mechanics worked out, we can now start to think about how the heck we actually go about rendering some wicked 90’s graphics on the screen. Before we start on this though, we do a tiny bit of tidying up; the looping logic can be refactored into a composable function itself so that we’re not polluting the Activity and our DoomCompose function is entirely self contained:
@Composable
fun DoomCompose(
    state: DoomState = DoomState()
) {
    DoomCanvas(state) { canvas ->
        setupView(canvas, state)
    }
}

@Composable
fun DoomCanvas(
    state: DoomState
) {
    // Draw stuff
}
Building the fire
According to Fabien’s blog post, this is the pseudocode used to spread the fire:
function doFire() {
    for(x = 0 ; x < FIRE_WIDTH; x++) {
        for (y = 1; y < FIRE_HEIGHT; y++) {
            spreadFire(y * FIRE_WIDTH + x);
        }
    }
 }

 function spreadFire(src) {
    firePixels[src - FIRE_WIDTH] = firePixels[src] - 1;
 }
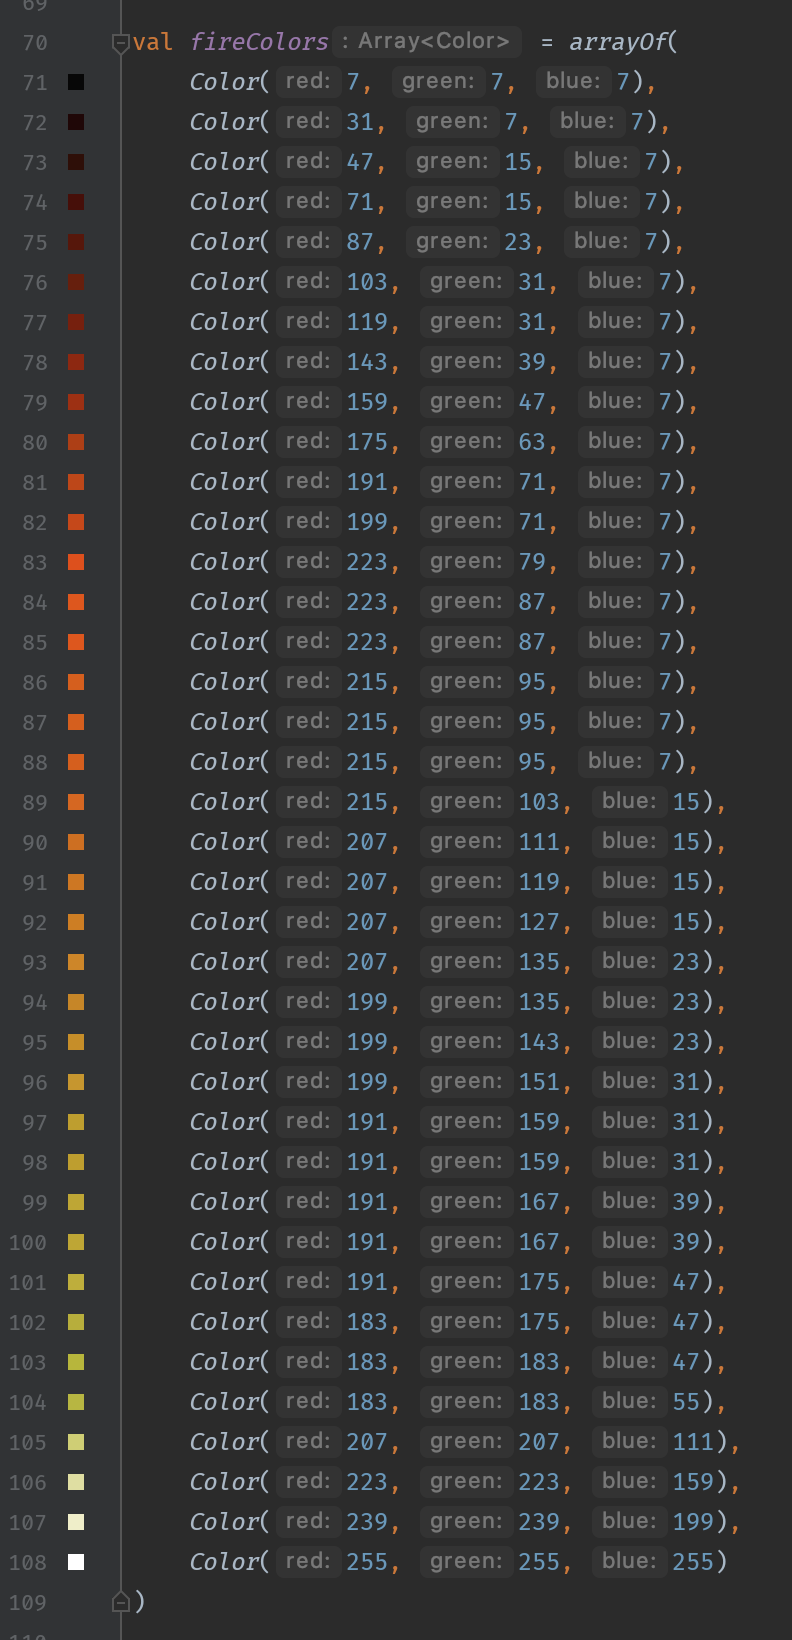
This seems pretty simple - we need to create an Array of values representing every pixel on screen, where the value represents the intensity of the fire in that instant. In every loop, we decrement this number to simulate the fire decaying as it rises. So for a starting point, let’s create another Array which we’ll use to map the fire intensity to actual colours. These are sampled from the blog post and the gutter preview in Android Studio turned out to be immensely satisfying to look at:
Next we need to gather some measurements from the Canvas we’ll be drawing on, so we have DoomCanvas pass back this information in a lambda, with a latch so that we only get this information once rather than on every recompose:
@Composable
fun DoomCanvas(
   doomState: DoomState,
   measurements: (Int, Int) -> Unit
) {
   var measured = false

   Canvas(modifier = Modifier.fillMaxSize()) {
      if (!measured) {
          measured = true
          measurements(
              size.width.value.toInt(),
              size.height.value.toInt()
          )
      }
      // Draw
}
Now that we have these measurements we can actually generate the pixel Array, where we initialise every pixel to an intensity of 0, ie a black pixel.
val arraySize = widthPixel * heightPixel

val pixelArray = IntArray(arraySize) { 0 }
Finally we add the fire source itself, which is a line of pixels at the bottom of the screen where the intensity is the maximum - in this case 36, or fireColors.size - 1 to avoid having a magic number floating about:
private fun createFireSource(
  firePixels: IntArray,
  widthPixel: Int,
  heightPixel: Int
) {
   val overFlowFireIndex = widthPixel * heightPixel

   for (column in 0 until.widthPixel) {
       val pixelIndex = (overFlowFireIndex - widthPixel) + column
       firePixels[pixelIndex] = fireColors.size - 1
   }
}
This is applied to the Array of pixels, and then we pass that Array back to the Compose function using a @Model:
@Model
data class DoomState(var pixels: List<Int> = emptyList())
You may have noticed that we’re using a List in the @Model, not the Array that we’re mutating. It turns out that an Array breaks the Compose compiler; this I imagine is due to the fact that an Array in a data class is a tricky thing and you need to override equals and hashcode. A nice little gotcha which is easily bypassed - we simply set pixels using pixelsArray.toList().
So we pass the pixels to the Canvas, and we iterate over them to draw them on screen using the drawRect function we were playing with earlier:
for (column in 0 until widthPixels) {
    // Don't update the bottom fire source row
    for (row in 0 until heightPixels - 1) {
        drawRect(
            rect = Rect(
                (column * pixelSize).toFloat(),
                (row * pixelSize).toFloat(),
                ((column + 1) * pixelSize).toFloat(),
                ((row + 1) * pixelSize).toFloat()
            ),
            paint = Paint().apply {
                val currentPixelIndex = column + (widthPixels * row)
                val currentPixel = firePixels[currentPixelIndex]
                color = fireColors[currentPixel]
            }
        )
    }
}
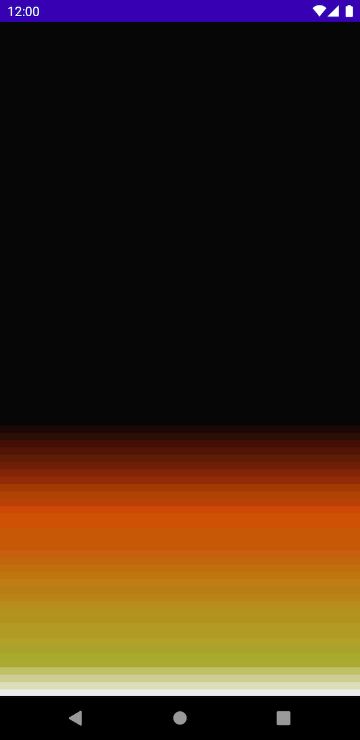
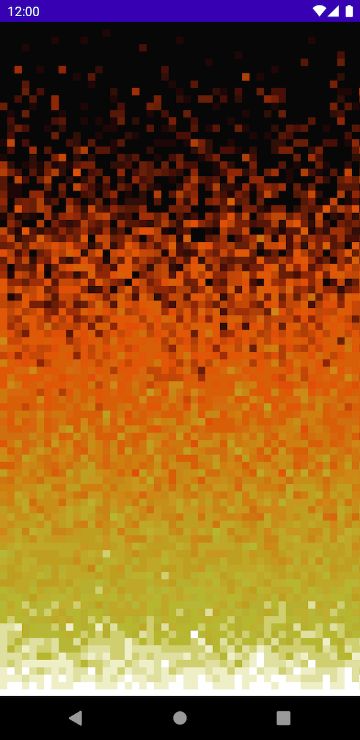
This gets us this neat looking effect which is kind of fire-like, but not what we want yet:
According to the original blogpost, it’s just a case of adding some randomness in the fire propagation:
function spreadFire(src) {
  var rand = Math.round(Math.random() * 3.0) & 3;
  firePixels[src - FIRE_WIDTH ] = firePixels[src] - (rand & 1);
}
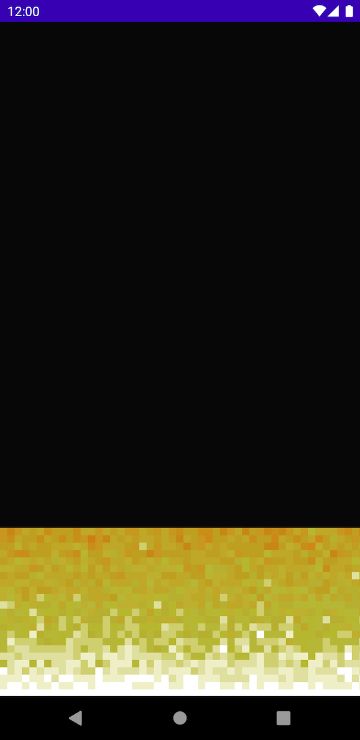
This isn’t quite right when first propagating though:
Back to the blog post; the fire can be spread left and right for more realism:
function spreadFire(src) {
   var rand = Math.round(Math.random() * 3.0) & 3;
   var dst = src - rand + 1;
   firePixels[dst - FIRE_WIDTH ] = firePixels[src] - (rand & 1);
}
In this instance we can actually represent wind direction as a sealed class and do some switching on it:
sealed class WindDirection {
    object Right : WindDirection()
    object Left : WindDirection()
    object None : WindDirection()
}

private fun updateFireIntensityPerPixel(
    currentPixelIndex: Int,
    firePixels: IntArray,
    widthPixel: Int,
    heightPixel: Int,
    windDirection: WindDirection
) {
    val bellowPixelIndex = currentPixelIndex + widthPixel
    if (bellowPixelIndex >= widthPixel * heightPixel) return

    val decay = floor(Random.nextDouble() * 3).toInt()
    val bellowPixelFireIntensity = firePixels[bellowPixelIndex]
    val newFireIntensity = when {
        bellowPixelFireIntensity - decay >= 0 -> bellowPixelFireIntensity - decay
        else -> 0
    }
    val newPosition = when (windDirection) {
        WindDirection.Right -> if (currentPixelIndex - decay >= 0) currentPixelIndex - decay else currentPixelIndex
        WindDirection.Left -> if (currentPixelIndex + decay >= 0) currentPixelIndex + decay else currentPixelIndex
        WindDirection.None -> currentPixelIndex
    }

    firePixels[newPosition] = newFireIntensity
}
And the results are pretty spot on:
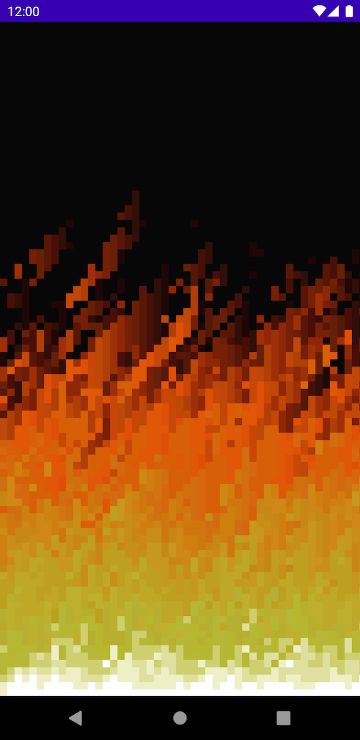
So we have our complete implementation!
Looping back
Here’s a quick breakdown of how we got to this point in the final version:
- We initialise our
DoomCanvasfunction with an empty model, and have it return to its parent its own measurements in a lambda - Next we create an array of pixels using the width and the height, where the
Intvalue represents the intensity of the flames - We initialise this array with
intensity = 0, which maps to black - We also initialise this array with a single row of
intensity = MAX, which maps to white. This becomes our fire source - Next we set up a loop using a
Handlerand on each iteration, we:- Calculate the propagation of each pixel, with some randomness added for realism
- Calculate the new intensity of that pixel so that it decays away over time and fades from white, through orange to black
- We then update the
DoomState@Modelclass with the updatedArrayof pixels - Compose works its magic, recognises the change, and inside the
Canvaswe simply loop over theArrayand calldrawRectfor each one, supplying a colour.
Further optimisations
There’s a few little bits and pieces that we can do here to further optimise the drawing code. As pointed out by Romain, the hardcoded 16ms Runnable loop is less than ideal. We can instead use the Choreographer class to hook into every frame refresh and remove our Handler/Runnable loop entirely:
val callback = object : Choreographer.FrameCallback {
    override fun doFrame(frameTimeNanos: Long) {
        calculateFirePropagation(pixelArray, canvas, windDirection)
        doomState.pixels = pixelArray.toList()

        Choreographer.getInstance().postFrameCallback(this)
    }
}
As you might have guessed from the code, the Choreographer only runs this callback once before removing it, so we simply re-register the callback within itself to listen to the next frame.
Rounding up
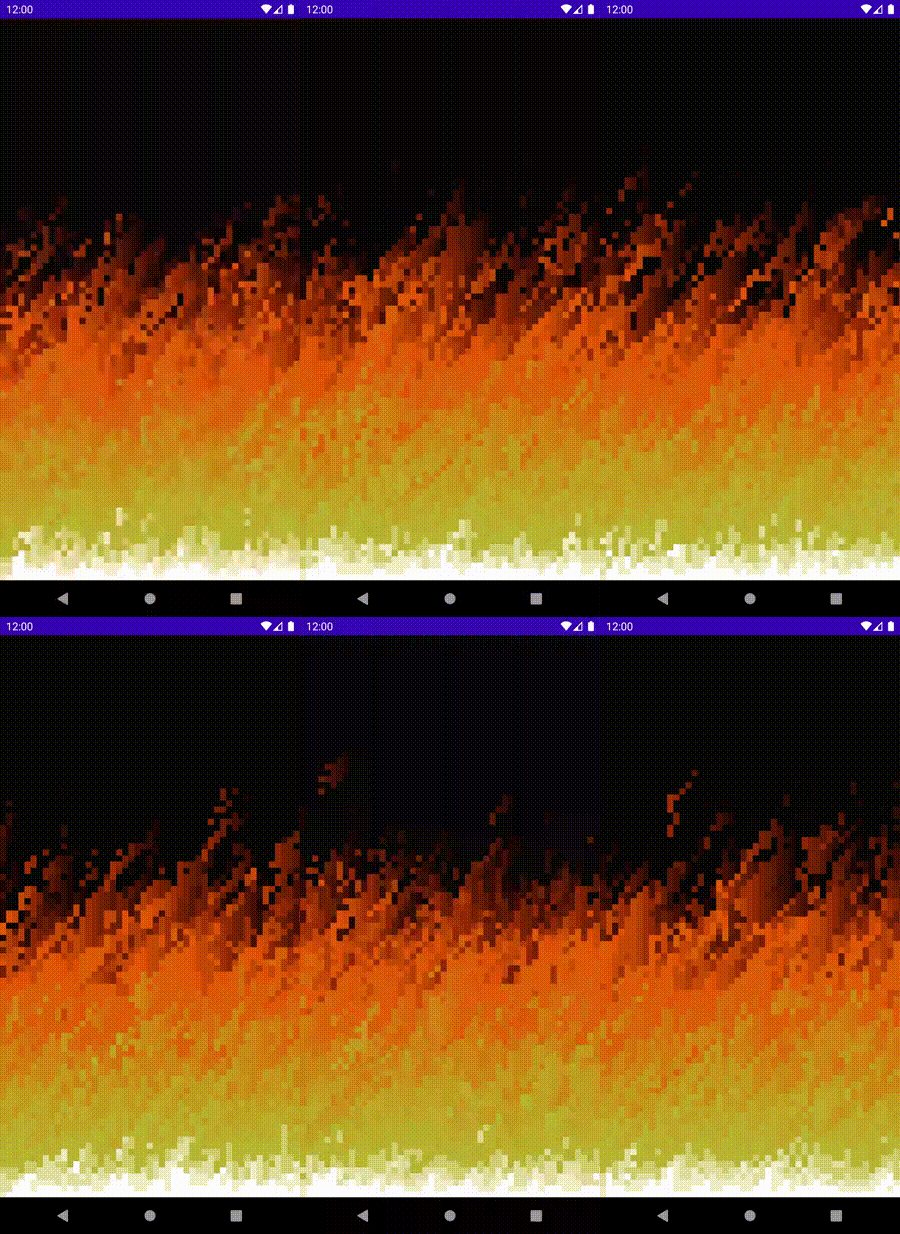
This was immensely good fun to build and very far outside of my normal wheelhouse. There is almost certainly a more efficient way of doing this in Compose with functionality that I couldn’t find, and if you’ve got any suggestions please chime in and feel free to open a PR if it makes sense. I’ve open-sourced the implementation here for those who want to see the complete picture and contribute. I’d definitely recommend tinkering with it, changing values here and there and getting a feel for how such relatively simple code can produce pretty cool looking results.
Thanks for reading; I’m off to download DOOM Eternal.
